MIL-PRF-914C
4.6.2 Inspection and production lot.
4.6.2.1 Inspection lot. An inspection lot, as far as practical, shall consist of all the networks of the same style,
characteristic, and protective enclosure or coating and manufactured under essentially the same process and
conditions during a manufacturing period of 1 month. For purposes of lot formation, all terminal types may be
included in the same lot; however, all lead types that are combined shall have the same method of terminal
attachment. This can be accomplished by proportion based on manufacturing percentages by termination type,
equally divided by termination type, equally divided by termination type or by establishing an alternating termination
type sequence. In order to incorporate a termination type sampling grouping, a written description must be presented
and approved by the qualifying activity. This plan must assure that the grouping only combines styles of the same
method of terminal attachment. Non-ER and ER lots shall be kept separate.
4.6.2.2 Production lot. A production lot shall consist of all networks of the same style, schematic, nominal
resistance value, resistance tolerance, resistance temperature characteristic, and terminal type. Manufacture of all
parts in the lot shall have been started, processed, assembled, and tested as a group. Lot identity shall be
maintained throughout the manufacturing cycle.
4.6.3 Group A inspection.
4.6.3.1 Non-ER networks. The manufacturer shall establish and maintain an inspection system to verify that
networks meet dc resistance, visual/mechanical, hermetic seal (when applicable), and solderability requirements. In-
line or process control may be part of such system. The inspection system shall also include criteria for lot rejection
and corrective actions. The inspection system shall be verified under the overall MIL-STD-790 QPL system.
NOTE: Since the non-ER (C level) is the ER design without the mandatory conformance inspection and FRL
assessment, the product is still expected to meet the environmental qualification type requirements (e.g., moisture
resistance, shock, vibration, etc.).
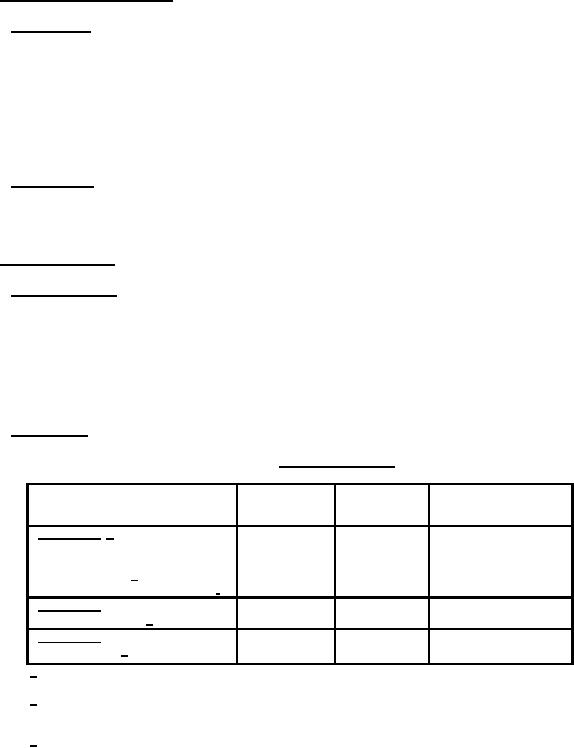
4.6.3.2 ER networks. Group A inspection shall consist of the inspections specified in table XIII, in the order shown.
TABLE XIII. Group A inspection.
Requirement
Test method
Sampling
Inspection
paragraph
paragraph
procedure
Subgroup 1 1/
Thermal shock
Power conditioning
100 percent inspection
DC resistance 2/
Hermetic seal (when applicable)
Subgroup 2
Visual inspection 3/
See 4.6.3.2.3
Subgroup 3
Solderability 4/
See 4.6.3.2.4
1/
At the manufacturer's option, the determination of resistance change may be by any method
which is within the accuracy requirements of this specification.
2/
Networks shall meet the specified initial resistance tolerance. The resistance measurement
made upon completion of each subgroup 1 test may be used if measurement has been made
which can, without conversion, be directly related to nominal resistance value and tolerance.
3/
At the manufacturer's option, marking inspection may be performed after group B inspection;
however, if this is done, no defects shall be permitted. Marking shall remain legible at the end of
all tests.
4/
The manufacturer may request the deletion of the subgroup 3 solderability test, provided an in-
line or process control system for assessing and assuring the solderability of leads can be
validated and approved by the qualifying activity. Deletion of the test does not relieve the
manufacturer from meeting this test requirement in case of dispute. If the design, material,
construction, or processing of the part is changed, or if there are any problems, the qualifying
activity may require resumption of the test.
18
For Parts Inquires call Parts Hangar, Inc (727) 493-0744
© Copyright 2015 Integrated Publishing, Inc.
A Service Disabled Veteran Owned Small Business