MIL-PRF-19E
APPENDIX A
PROCEDURE FOR QUALIFICATION INSPECTION
A.1 SCOPE
A.1.1 Scope. This appendix details the procedures for submission of samples, with related data, for qualification
inspection of resistors covered by this specification. The procedure for extending qualification of required sample to
other resistors covered by this specification is also outlined herein. This appendix is a mandatory part of this
specification. The information contained herein is intended for compliance.
A.2 APPLICABLE DOCUMENTS. This section is not applicable to this document.
A.3 SUBMISSION
A.3.1 Sample.
A.3.1.1 Single type submission. A sample consisting of 42 specimens of each type for which qualification is sought
shall be submitted.
A.3.1.2 Combined type submission. For qualification of either the standard bushing or the locking bushing type
resistors, a sample consisting of the number of sample units specified in table A-I shall be submitted in the highest
resistance value for each style and lot coverage for which qualification is sought. To receive qualification of locking
bushing type resistors when standard bushing type resistors have been submitted, an additional sample of locking
bushing type resistors consisting of the number of specimens specified in table A-II shall be submitted. If resistors
are not all of the same basic design, sample resistors of each alternate design shall be submitted.
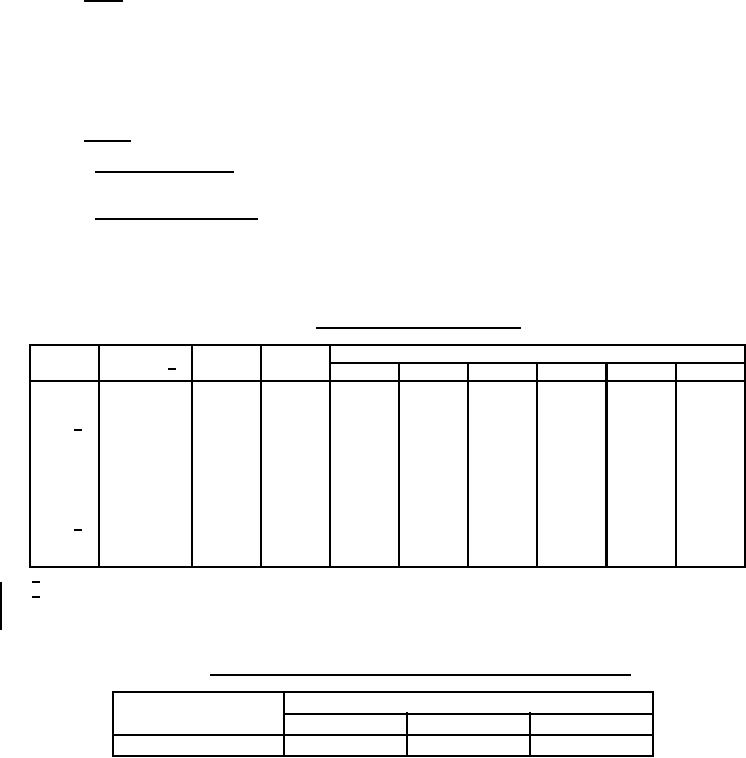
TABLE A-I. Sample for qualification inspection.
Specimen numbers (also see table VII)
Inspection group:
Lot
Quantity 1/
Taper
Switch
I
II
III
IV
V
VI
1
30
A
None
1 to 30
1 to 6
7 to 12
13 to 18
19 to 24
25 to 30
2
30
C
None
1 to 30
1 to 6
7 to 12
13 to 18
19 to 24
25 to 30
3 2/
30
A
None
1 to 30
1 to 6
7 to 12
13 to 18
19 to 24
25 to 30
30
C
None
1 to 30
1 to 6
7 to 12
13 to 17
19 to 24
25 to 30
4
18
A
None
1 to 18
1 to 4
5 to 8
9 to 12
13 to 15
16 to 18
15
A
SPST
1 to 15
1 and 2
3 and 4
5 and 6
7 to 12
13 to 15
5
18
C
None
1 to 18
1 to 4
5 to 8
9 to 12
13 to 15
16 to 18
15
C
SPST
1 to 15
1 and 2
3 and 4
5 and 6
7 to 12
13 to 15
6 2/
18
A
None
1 to 18
1 to 4
5 to 8
9 to 12
13 to 15
16 to 18
15
A
SPST
1 to 15
1 and 2
3 and 4
5 and 6
5 and 6
13 to 15
3333
30
C
None
1 to 30
1 to 6
7 to 12
13 to 18
19 to 24
25 to 30
1/
Within same style
2/
For lots 3 and 6, number of allowable defectives shown in the last column of table VII will apply individually to the
submission that is made in each resistance taper. For all other lots, the number of allowable defectives will be
shown in table VII.
TABLE A-II. Samples for qualification inspection of additional locking bushing types.
Test group: Specimen number
Quantity in the
same style
I
II
III
12
1 to 12
1 to 6
7 to 12
24
For Parts Inquires call Parts Hangar, Inc (727) 493-0744
© Copyright 2015 Integrated Publishing, Inc.
A Service Disabled Veteran Owned Small Business