MIL-PRF-39017G
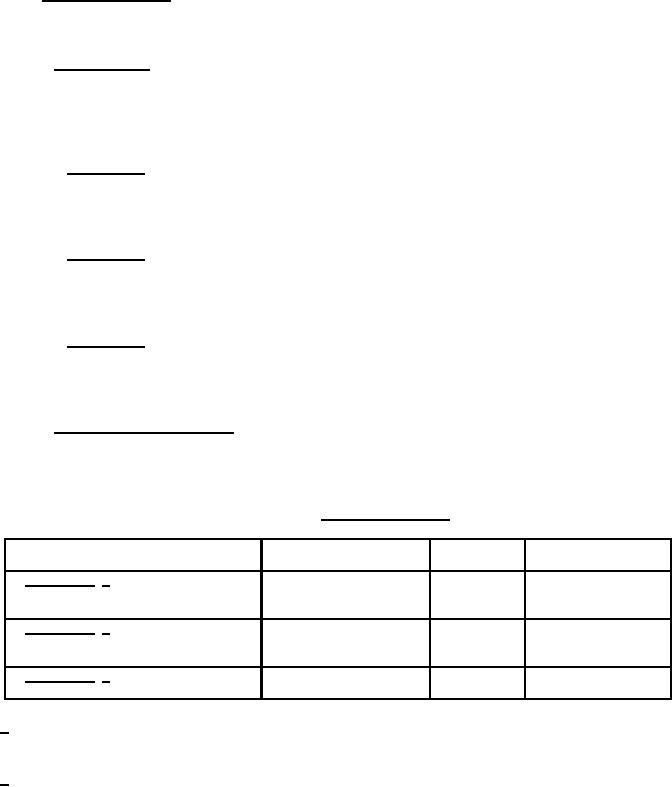
4.6.5 Group B inspection. Group B inspection shall consist of the tests specified in table XIII, in the
order shown. They shall be performed on sample lots that have been subjected to and have passed the
group A inspection.
4.6.5.1 Sampling plan. All qualified styles may be grouped together in a single sample. This can be
accomplished by proportion based on manufacturing percentages by style, equally divided by style or by
establishing an alternating style sequence. In order to incorporate a style sampling grouping, a written
description must be presented and approved by the qualifying activity. This plan must assure that the
grouping only combines styles of the same design, encapsulation material and the same element type.
4.6.5.1.1 Subgroup 1. A sample of 13 parts shall then be randomly selected, if one or more defects
are found, the lot shall be rescreened and defects removed. A new sample of 13 parts shall then be
randomly selected, if one or more defects are found in the second sample, the lot shall be rejected and
shall not be supplied to this specification.
4.6.5.1.2 Subgroup 2. A sample of 13 parts shall then be randomly selected, if one or more defects
are found, the lot shall be rescreened and defects removed. A new sample of 13 parts shall then be
randomly selected, if one or more defects are found in the second sample, the lot shall be rejected and
shall not be supplied to this specification.
4.6.5.1.3 Subgroup 3. A sample of 8 parts shall then be randomly selected, if one or more defects are
found, the lot shall be rescreened and defects removed. A new sample of 8 parts shall then be randomly
selected, if one or more defects are found in the second sample, the lot shall be rejected and shall not be
supplied to this specification.
4.6.5.2 Disposition of sample units. Sample units which have been subjected to group B, subgroup 1
and 2 inspections may be delivered on the acquisition document provided they are within resistance
tolerance and meet requirements for visual and mechanical inspection. Sample units which have been
subjected to subgroup 3 inspection shall not be supplied to this specification.
TABLE XIII. Group B inspection.
Test
Requirement
Method
Number of samples
paragraph
paragraph
Subgroup 1 1/
13
3.1 and
Visual and mechanical examination
(when applicable)
Subgroup 2 2/
13
Resistance-temperature characteristic
Short-time overload
Subgroup 3 2/
Resistance to solvents
8
1/ Only applicable when marking inspection is not performed in group A inspection. No defects shall
be permitted. Marking shall remain legible at the end of all tests.
2/ If the manufacturer can demonstrate that this test has been performed for five consecutive times
with zero failures, the frequency of this test, with the approval of the qualifying activity, can be
performed on an annual basis. If the design, material, construction, or processing of the part is
changed, or if there are any quality problems or failures, the qualifying activity may require
resumption of the original test frequency.
22
For Parts Inquires call Parts Hangar, Inc (727) 493-0744
© Copyright 2015 Integrated Publishing, Inc.
A Service Disabled Veteran Owned Small Business